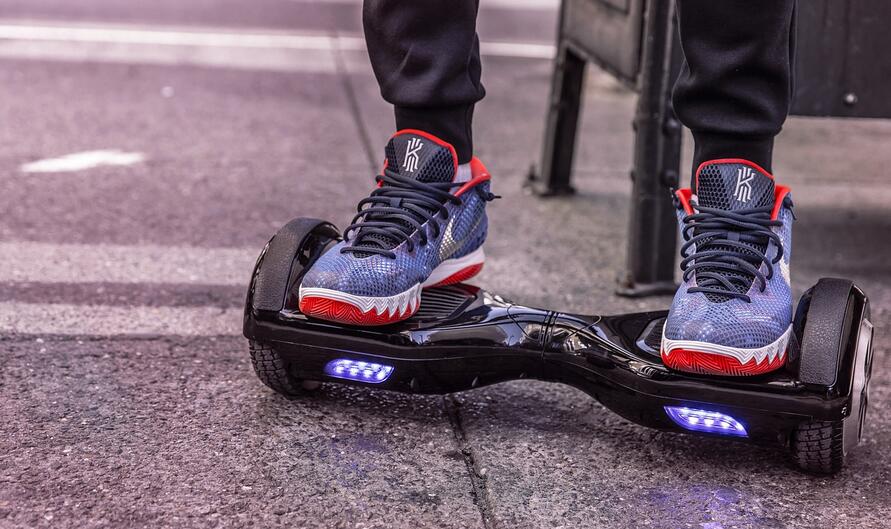
Facing trouble with a hoverboard that just won’t power down? This common issue can leave users frustrated and worried about safety. Our troubleshooting guide provides step-by-step instructions to resolve the problem, ensuring you can switch off your hoverboard with ease.
Table of Contents
Reasons Why a Hoverboard Won’t Turn Off
There are various reasons why a hoverboard may not turn off, including faulty battery packs, continuous beeping, different lights flashing, sensor failure, overcharging, overheating, short circuit, and motherboard faults.
These issues can prevent the hoverboard from shutting down properly.
1. Faulty battery pack
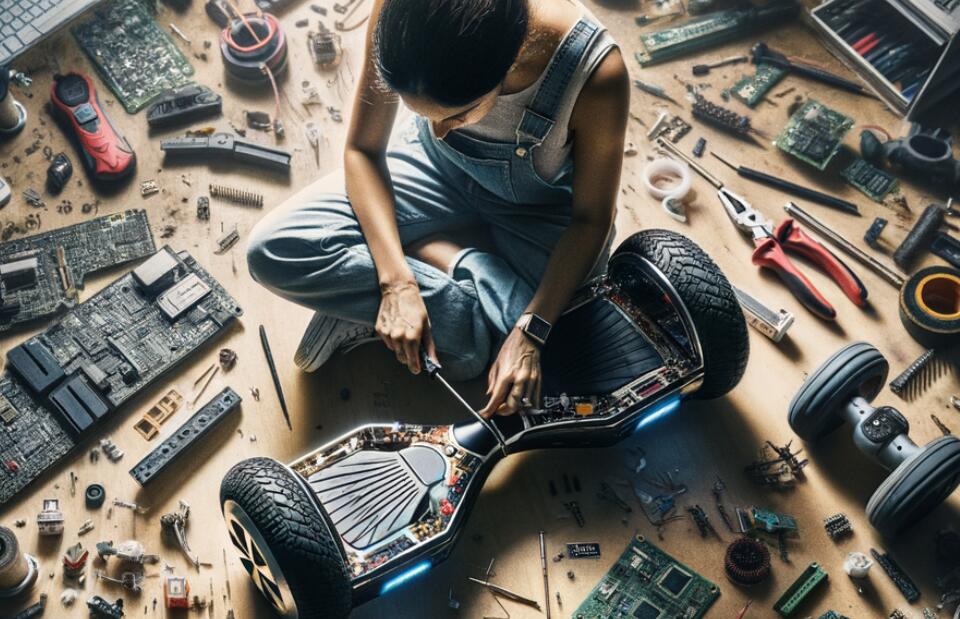
A faulty battery pack can be a major culprit if your hoverboard refuses to turn off. It might be worn out or damaged, causing the electrical system to malfunction. To handle this issue safely, first ensure that your hoverboard is on a flat surface and remove it from any charging source.
Then carefully unscrew the back panel to access the battery compartment using proper safety precautions.
Replace the old battery with a new one designed for your specific model of electric scooter. Make sure all connections are secure and there’s no visible damage to wires or connectors before reassembling.
After installing the fresh battery, test the power button function as this could resolve the turning off problem effectively without needing further tech support intervention.
2. Continuous beeping
If your hoverboard won’t stop beeping, this may indicate a problem with the battery or other internal issues. The continuous beeping is often caused by low battery voltage or an overcurrent situation.
To troubleshoot the continuous beeping, start by checking the battery level and ensuring it is fully charged. If the issue persists, consider inspecting for any signs of damage to the electrical components such as wires, circuits, or connectors.
Additionally, refer to the manufacturer’s instructions for further guidance on addressing continuous beeping.
3. Different lights flashing
If your hoverboard is experiencing continuous beeping, it can also exhibit different lights flashing. These lights may indicate specific issues such as battery problems, sensor failure, or motherboard faults.
The presence of various flashing lights serves as a crucial indicator in identifying the underlying problem with your hoverboard. To address this issue effectively, it’s important to understand the specific meaning behind each flashing light pattern and take appropriate steps to troubleshoot and resolve the root cause.
When different lights are flashing on your hoverboard, they can signal various problems including battery issues or sensor failures. Understanding the significance of these light patterns can help diagnose and fix the problem efficiently.
4. Sensor failure
After addressing different lights flashing, the next potential issue to look out for is sensor failure. When the sensors on a hoverboard malfunction, it can prevent the device from turning off properly.
To fix this, carefully inspect and replace any faulty sensors with new ones as needed. Be sure to follow safety precautions when working with electronic components and always use appropriate tools for repair work.
Regularly checking and maintaining the sensors can help prevent future issues with sensor failure. Keep an eye out for any signs of damage or wear and tear on the sensors, ensuring they are in good working condition at all times.
5. Overcharging
After checking for sensor failure, it’s important to inspect the hoverboard for signs of overcharging. Look for any visible damage or swelling on the battery pack, which could indicate overcharging.
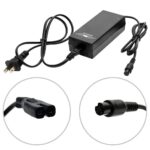
Unplug the hoverboard and examine the charging port for any irregularities such as melted plastic or burnt marks. Ensure to follow safety precautions when handling electrical components, and if there are clear signs of overcharging, consider replacing the battery pack to prevent further issues.
Regularly checking the battery and avoiding overcharging will help maintain the health of your hoverboard’s electrical system. By being mindful of proper charging practices, you can prolong the lifespan of your hoverboard and minimize potential malfunctions caused by overcharging.
6. Overheating
If your hoverboard is overheating, it could be due to prolonged use or overcharging. Overheating can lead to potential safety hazards and affect the functionality of the hoverboard.
To address this issue, immediately power off the device and allow it to cool down in a well-ventilated area. After cooling, inspect the battery pack for any signs of damage or swelling, as this could indicate a faulty battery that needs replacement.
Additionally, check for any obstructions blocking the ventilation system of the hoverboard and remove them if necessary.
7. Short circuit
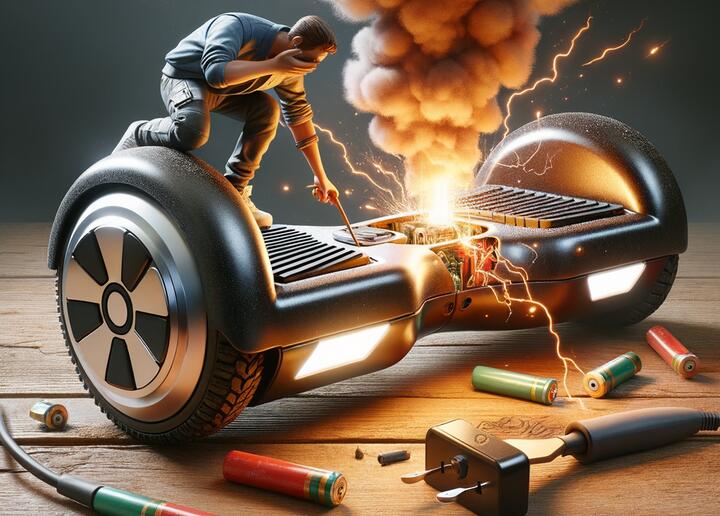
If your hoverboard experiences a short circuit, it can disrupt the electrical flow and cause the device to malfunction. A short circuit occurs when there is an unintended connection between two points in the electrical system, leading to excessive current flow and potential damage to the components.
In this situation, it’s crucial to immediately disconnect the power source and seek professional assistance for repairs. Ignoring a short circuit can pose safety risks and further damage to the hoverboard’s internal systems.
To prevent a short circuit from occurring, regular maintenance is essential. Ensuring that all wiring is intact and free from fraying or damage can help mitigate the risk of a short circuit.
8. Motherboard fault
If your hoverboard won’t turn off, a potential issue could lie in a faulty motherboard. A malfunctioning motherboard can disrupt the communication between different components of the hoverboard, causing it to remain powered on despite attempts to shut it down.
Signs of a motherboard fault may include erratic behavior such as sudden acceleration or deceleration, unresponsive controls, or continuous power supply even when turned off.
Inspecting the motherboard for any visible signs of damage or corrosion and testing its functionality with professional assistance can help determine if this is the root cause of your hoverboard’s failure to turn off.
Steps to Fix a Hoverboard That Won’t Turn Off
To fix a hoverboard that won’t turn off, start by unplugging the battery and checking for any faulty sensors. Allow the hoverboard to cool down, inspect for signs of overcharging, and check the motherboard for any damage.
1. Unplug the battery
To fix a hoverboard that won’t turn off, start by unplugging the battery. This will allow you to perform the necessary troubleshooting steps without the risk of electric shock. Here’s what you should do next:
- Locate the battery compartment and carefully disconnect the power supply.
- Use a screwdriver to remove any covers or panels protecting the battery connection.
- Gently detach the connector or wires linking the battery to the motherboard.
- Inspect the connectors for any signs of damage or corrosion.
- Let the hoverboard sit for a few minutes before proceeding with further troubleshooting.
2. Check and replace any faulty sensors
Next, inspect all the sensors. Look for any physical damage or loose connections. If a sensor is faulty, carefully remove and replace it with a new one. Ensure each sensor is securely installed and functioning properly before proceeding to the next step.
3. Allow the hoverboard to cool down
If your hoverboard won’t turn off, allowing it to cool down can help resolve the issue. Here are some detailed steps to follow:
- Turn off the hoverboard and let it sit for at least 30 minutes in a cool, well-ventilated area.
- Avoid placing the hoverboard near sources of heat or direct sunlight during this cooling period.
- Once the hoverboard has cooled down, attempt to turn it off again using the power button.
- If the issue persists, consider seeking professional assistance or contacting the manufacturer for further guidance.
- Always prioritize safety when troubleshooting your hoverboard, and never attempt repairs that you’re not comfortable with.
4. Check for any signs of overcharging
After allowing the hoverboard to cool down, the next step is to check for any signs of overcharging. This is important because overcharging can lead to battery damage and malfunction. Here are some signs of overcharging that you should look out for:
- Check for bulging or swelling in the battery pack, as this indicates overcharging and potential battery failure.
- Look for any unusual heat coming from the hoverboard, which could be a sign of excessive charging.
- Observe the lights on the hoverboard charger – if they do not turn off after a reasonable amount of time, it may indicate overcharging.
5. Inspect for any signs of damage on the motherboard
Inspect the motherboard carefully for signs of damage. Look for any visible burns, melted components, or unusual discoloration on the board. Check for loose connections or broken solder joints.
- Look for any obvious physical damage, such as cracks or dents on the motherboard.
- Examine the electronic components for signs of corrosion or rust.
- Check for any frayed or damaged wires that may be connected to the motherboard.
- Ensure that all connectors and ports on the motherboard are intact and undamaged.
Troubleshooting Tips
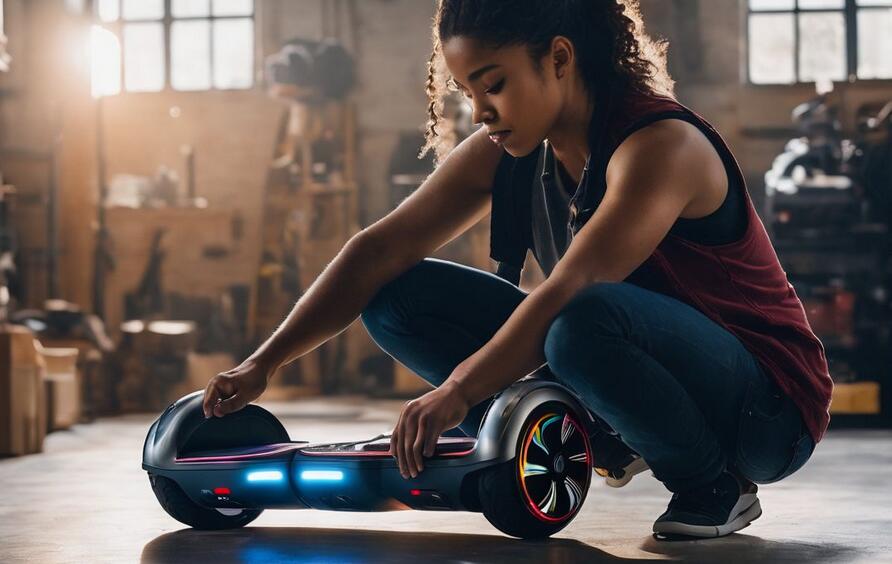
Ensure to follow safety precautions when troubleshooting your hoverboard. Use a head screwdriver to unscrew the plastic cover and carefully examine all sensors for any signs of damage.
Additionally, try pressing and holding the power button for 10 seconds to see if that resolves the issue.
1. Be sure to follow safety precautions
Follow safety precautions when working on your hoverboard. Always wear protective gear such as gloves and goggles to prevent injury. Additionally, make sure to work in a well-ventilated area to avoid inhaling any harmful fumes during the troubleshooting process.
Keep the hoverboard away from flammable materials and be cautious of sharp edges while disassembling it for inspection.
Inspect all components carefully before proceeding with any fixes or replacements, especially if you are dealing with electronic parts like the battery or motherboard. Regularly check for any signs of damage or corrosion and handle all electrical components with care to prevent any potential electric shock hazards.
2. Use a head screwdriver to unscrew the plastic cover
To access the internal components of your hoverboard, follow these steps to unscrew the plastic cover:
- Locate the screws holding the plastic cover in place.
- Use a head screwdriver that matches the size of the screws to carefully remove them and set them aside.
- Once all the screws are removed, gently lift off the plastic cover to access the internal parts.
3. Examine all sensors
After unscrewing the plastic cover, it’s important to thoroughly examine all sensors. Here are a few steps to help you with this process:
- Carefully inspect each sensor for any signs of damage, such as cracks or loose connections.
- Ensure that the sensors are properly positioned and securely attached to the hoverboard.
- Clean the sensors using a soft, dry cloth to remove any dirt or debris that may be interfering with their functionality.
- Check the wiring connected to each sensor to make sure there are no loose or frayed connections.
- Test each sensor individually to confirm that they are responding appropriately to movement and input.
4. Press and hold the power button for 10 seconds
To fix a hoverboard that won’t turn off:
- Press and hold the power button for 10 seconds to force a reset.
- This action will help to reboot the system and resolve any software glitches.
- It can also help the hoverboard recalibrate and turn off if there are any power button malfunctions.
Additional Tips for Hoverboard Maintenance
Regularly check and replace batteries to ensure optimal performance and keep your hoverboard in a cool, dry place when not in use. For more helpful tips on maintaining and troubleshooting your hoverboard, read on!
Regularly check and replace batteries
Check and replace batteries to ensure the hoverboard’s proper function.
- Inspect the battery for any signs of damage, bloating, or leakage.
- If the battery is damaged, replace it with a new one from a reputable manufacturer.
- Regularly check the battery’s connection to the motherboard to ensure it is secure.
- Follow the manufacturer’s guidelines for the recommended lifespan of the batteries and replace them accordingly.
- Dispose of old batteries properly according to local regulations to prevent environmental harm.
Keep hoverboard in a cool, dry place
To ensure the longevity of your hoverboard, it’s essential to keep it in a cool, dry place. Here are some tips to help you achieve this:
- Store your hoverboard in a temperature – controlled environment, away from direct sunlight and extreme heat or cold.
- Avoid leaving your hoverboard outside for extended periods as exposure to moisture can damage the internal components.
- Consider investing in a protective cover or case to shield your hoverboard from dust and humidity when not in use.
- Regularly inspect the storage area to ensure it remains dry and free from any potential leaks or water damage.
Avoid overcharging
To avoid overcharging, follow these tips:
- Regularly check the battery level to prevent leaving the hoverboard plugged in unnecessarily.
- Unplug the charger once the battery is fully charged to prevent overcharging and damage to the battery cells.
- Use a charger specifically designed for your hoverboard model to ensure safe and efficient charging.
- Avoid leaving the hoverboard on charge for extended periods, especially overnight or when unattended.
- Store your hoverboard in a cool, dry place away from direct sunlight and extreme temperatures to maintain battery health.
Conclusion
In conclusion, troubleshooting and fixing a hoverboard that won’t turn off requires careful inspection and following the steps outlined above. Regular maintenance can help prevent many of the issues discussed.
Keeping safety in mind while handling electronic components is crucial. Always consider seeking professional assistance if the issue persists despite your efforts.
FAQs
1. Could a bad battery be why my hoverboard stays on?
Yes, a faulty or old battery might prevent your hoverboard from turning off properly. Consider getting a battery replacement to solve this problem.
2. How can calibrating my hoverboard help it turn off?
Calibrating your self-balancing scooter can realign its sensors and systems, which often fixes power-related issues like not shutting down when you want it to.
3. Is there a guide that shows how to replace the battery in a hoverboard?
Most likely, yes! Look up your specific model’s troubleshooting guide or contact customer support for steps on how to safely replace the battery in your personal transporter.

