Facing the frustration of a non-responsive hoverboard after charging can be both perplexing and inconvenient. The anticipation of gliding effortlessly is met with disappointment when the hoverboard refuses to power on. In this article, we will explore the common reasons behind this problem and provide step-by-step solutions to get your hoverboard back in action.
Table of Contents
Understanding Your Hoverboard’s Charging Process
Before we dive into troubleshooting, let’s understand how hoverboards are charged. Most hoverboards come with a standard charging cable that plugs into the charging port located at the bottom of the device.
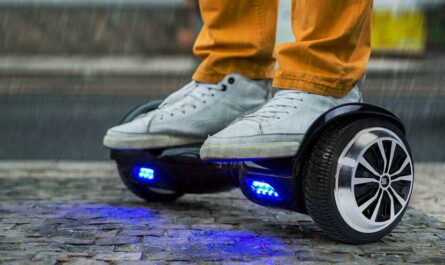
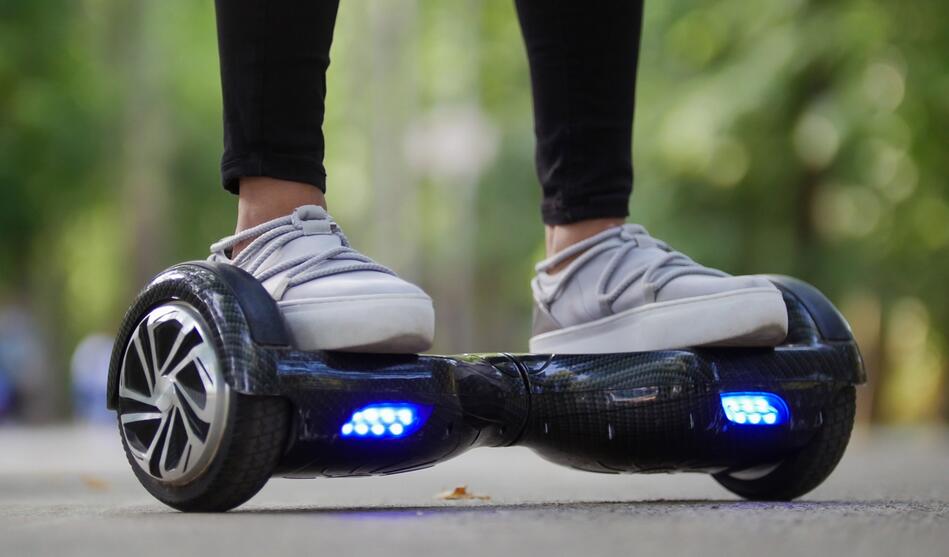
When you connect the charger, the hoverboard starts to charge, and typically, the LED indicator light turns red. Once fully charged, the light usually turns green or blue, indicating that it’s time to disconnect the charger.
It’s important to note that overcharging a hoverboard can damage the battery, so be mindful of the charging time and avoid leaving it plugged in for extended periods.
Common Reasons Your Hoverboard Won’t Turn On After Charging
1. Battery Issues
Dead Battery
Over time, the battery life of a hoverboard may deteriorate. If the battery is completely drained, the hoverboard may not turn on, even after being charged. In this case, it might be necessary to replace the battery.
To determine if a dead battery is an issue, try charging the hoverboard for several hours and then turn it on. If it still fails to power on, a dead battery may be the culprit.
Faulty Battery
Manufacturing defects or physical damage can lead to a faulty battery, which may result in the hoverboard failing to power on. Inspect the battery for any visible damage or signs of leakage.
If you notice any abnormalities, such as swelling or a pungent odor, the battery likely needs to be replaced. Contact the manufacturer or a professional repair service for assistance in obtaining a compatible replacement battery.
Battery Connectivity
Loose or damaged battery connections can prevent the hoverboard from turning on. Ensure the battery is securely connected to the hoverboard’s circuit board. Gently wiggle the battery to check for any looseness.
If the battery is not properly connected, reattach it firmly and securely. If the connections are damaged, consult a professional technician for repair.
2. Charging Port Problems
Broken Charger
Inspect the charger for any visible damage or loose connections. If you suspect the charger is faulty, try using a different charger, preferably one that is compatible with your hoverboard model. If the hoverboard turns on with a different charger, it’s clear that the previous charger was defective. Replace the charger with a new one from a reputable supplier.
Damaged Port
Physical damage to the charging port can prevent the hoverboard from receiving power. Carefully examine the port for any debris or bent pins. If any debris is present, use a soft brush or compressed air to clean the port.
Note: Ensure the hoverboard is turned off and disconnected from any power source before attempting any cleaning or maintenance procedures. If there are bent pins or physical damage to the port, it is highly recommended to seek professional repair.
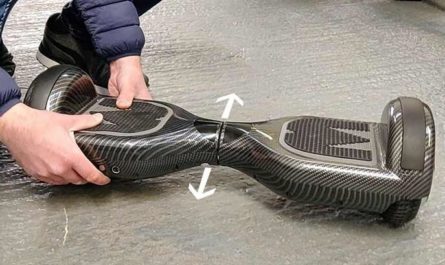
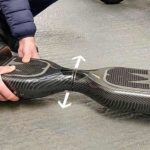
3. Motherboard Malfunctions
The motherboard is the heart of the hoverboard, controlling its functions. Various issues can cause the hoverboard to fail to power on due to motherboard malfunctions.
Some common indicators of motherboard failure include unresponsive buttons, flickering lights, or strange sounds coming from the device. In such cases, seeking professional repair is recommended.
A skilled technician will be able to diagnose the issue and determine if the motherboard needs to be repaired or replaced.
4. Other Electrical Problems
Wiring Faults
Wiring issues within the hoverboard’s internal circuitry can disrupt the power flow, resulting in the device not turning on. Common causes of wiring faults include loose connections, damaged wires, or faulty soldering.
Attempting to fix wiring faults without proper knowledge and experience can be dangerous. It is advised to consult a professional technician who specializes in hoverboard repairs.
Faulty Power Button
A malfunctioning power button can prevent the hoverboard from starting up. Try pressing the power button firmly and multiple times to ensure it isn’t stuck.
If the power button seems unresponsive or physically damaged, professional assistance may be required. An expert technician will be able to assess and repair the power button or suggest alternative solutions.

Step-by-Step Guide for Hoverboard Won’t Turn On After Charging
Follow these steps to troubleshoot the issue when your hoverboard won’t turn on after charging:
1. Check the Charger
- Ensure the charger’s cable is securely connected to both the hoverboard and the power outlet. A loose connection can prevent proper charging.
- Test the charger on another compatible device, such as another hoverboard, to rule out charger issues.
- If the charger is faulty, consider purchasing a new one from a reputable supplier.
Pro Tip: Opt for chargers recommended by the manufacturer to ensure compatibility and safety.
2. Inspect the Charging Port
- Carefully clean any debris or dirt from the charging port using a soft brush or compressed air. Debris buildup can hinder the connection between the charger and the hoverboard, preventing it from charging efficiently.
- Examine the port for any physical damage, such as bent pins or loose connections. If damage is detected, professional repair may be necessary.
Pro Tip: Regularly inspect and clean the charging port to prevent debris accumulation and potential connection issues.
3. Examine the Battery
- Check the battery for any visible damage, leakage, or swelling. These issues indicate battery malfunction and necessitate replacement.
- Ensure the battery connections are secure and properly attached to the hoverboard’s circuit board. Any loose connections can prevent the hoverboard from turning on.
Pro Tip: Handle the battery with care and follow proper safety precautions when replacing it. Consult the user manual or seek professional assistance for battery replacement.
4. Reset the Hoverboard
- Perform a factory reset by holding down the power button for a few seconds or referring to the user manual for specific instructions. This reset can help resolve software or minor communication issues that may prevent the hoverboard from turning on.
- After performing the reset, attempt to turn on the hoverboard again to see if the issue is resolved.
Pro Tip: Remember to charge the hoverboard fully before attempting a reset.
5. Test the Power Button
- Ensure the power button is not stuck or damaged by pressing it firmly multiple times. A stuck power button can prevent the hoverboard from powering on or off.
- If the power button remains unresponsive, professional repair is recommended. Attempting to repair the power button without expertise can lead to additional complications.
Pro Tip: Avoid using excessive force when pressing the power button, as it may result in physical damage.
When to Seek Professional Repair or Replacement
If the troubleshooting attempts and basic maintenance tips do not resolve the issue, it may be time to consider professional repair or replacement. Here are some factors to consider:
Check Warranty Coverage: If your hoverboard is still under warranty, review the terms and conditions. Warranty coverage can provide repair or replacement options free of charge or at a reduced cost.
Reputable Repair Services: Look for reputable repair services that specialize in hoverboard repairs. Check online reviews and seek recommendations from trusted sources. A qualified technician with experience in hoverboard repair can diagnose the issue accurately.
Cost-Benefit Analysis: Evaluate the cost of repair against the price of a new hoverboard. If the repair cost is too high, considering a new hoverboard may be more economical in the long run, especially if your current hoverboard is older or more prone to future issues.
Maintenance Tips to Prevent Future Issues
To prevent your hoverboard from encountering similar problems in the future, follow these maintenance tips:
- Regular Charging Practices: Adhere to the manufacturer’s guidelines for charging duration and practices. Overcharging or undercharging can lead to battery issues.
- Avoid Extreme Temperatures: Store the hoverboard in a cool, dry place, away from direct sunlight or extreme temperatures. Exposure to heat or cold can affect battery performance and overall hoverboard functioning.
- Proper Cleaning Routines: Regularly clean the hoverboard and its components to prevent debris accumulation. Wipe down the surface with a soft cloth and use a brush or compressed air to clean the charging port and other crevices.
- Handle with Care: Avoid rough handling or impacts that could potentially damage the hoverboard’s internal components.
- Stay Informed: Stay updated with the latest firmware or software updates provided by the manufacturer. These updates often include bug fixes and performance enhancements.
Following these maintenance tips will help ensure the longevity and optimal performance of your hoverboard.
How can I extend the life of my hoverboard’s battery?
To extend the lifespan of your hoverboard’s battery, follow these tips:
- Avoid overcharging: Do not leave your hoverboard plugged in for an extended period after it has reached a full charge. Overcharging can degrade the battery life.
- Charge regularly: It is recommended to charge your hoverboard at least once every three months, even if you are not using it frequently. This practice helps maintain the health of the battery.
- Store properly: When storing your hoverboard for an extended period, ensure that it is in a cool and dry place, away from direct sunlight or extreme temperatures. Avoid storing it with a fully depleted battery, as this can lead to battery deterioration.
- Follow charging guidelines: Refer to the manufacturer’s instructions for recommended charging times and practices. Different models may have specific requirements, so it is crucial to adhere to their guidelines.
- Avoid excessive weight: Hoverboards have weight limits, and exceeding them can put unnecessary strain on the battery and other components. Be mindful of the weight restrictions outlined by the manufacturer.
Frequently Asked Questions
Q: How long should I charge my hoverboard initially?
It is recommended to charge a hoverboard for at least 2-3 hours initially. However, charging times may vary depending on the specific model and manufacturer. It is important to refer to the manufacturer’s instructions for the recommended charging time to ensure optimal battery performance.
Q: What do different hoverboard light indicators mean?
Light indicators vary depending on the model and manufacturer. Generally, a red light indicates that the hoverboard is charging, while a green or blue light indicates a full charge or readiness to use.
However, it is essential to consult the user manual or the manufacturer’s guidelines for accurate information regarding the specific light indicators of your hoverboard.
Q: Are some hoverboard models more prone to not turning on after charging?
While most hoverboard models follow similar charging and power-on procedures, there may be differences in terms of quality and reliability between different brands and models. It is always advisable to research and read user reviews before purchasing a hoverboard to gain insights into the overall quality and performance of the specific model you are interested in.
By choosing a reputable and reliable brand, you can minimize the chances of encountering issues with the hoverboard not turning on after charging.
Q: What are the risks of using third-party chargers?
Using third-party chargers can be risky due to differences in quality and compatibility. Third-party chargers may not meet the required safety standards, potentially resulting in battery damage, fire hazards, or limited functionality.
Additionally, using incompatible chargers can lead to a mismatch in voltage, which can damage the battery or other internal components of the hoverboard. To ensure safety, always use chargers recommended by the manufacturer, specifically designed for your hoverboard model.
Conclusion
Troubleshooting a hoverboard that won’t turn on after charging can be a complex process, as there are several potential causes for this issue. By following the step-by-step troubleshooting guide provided in this article, you can efficiently diagnose and resolve the problem. Remember, your safety is paramount when handling electrical devices, so exercise caution and seek professional assistance if necessary.
Related posts:
 How to Calibrate a Hoverboard: A Step-by-Step Guide
  What Is A Hoverboard – When Was The Hoverboard Invented?
  How Much Does Hoverboards Weigh? A Complete Guide
  Are Hoverboards Allowed on Airplanes?Know the Policies
  Segway vs Hoverboard: Unveiling the Key Differences
  How Heavy Is a Hoverboard? Choose Right Hoverboard Weights